A Practical Guide to Shopping for Fashion Online
Eliminate return headaches by measuring your best-fitting garments flat, decoding textile mill compositions, and reading studio model styling cues accurately.

Explore The Complete Fashion Edit Sizing & Garment Evaluation Directory
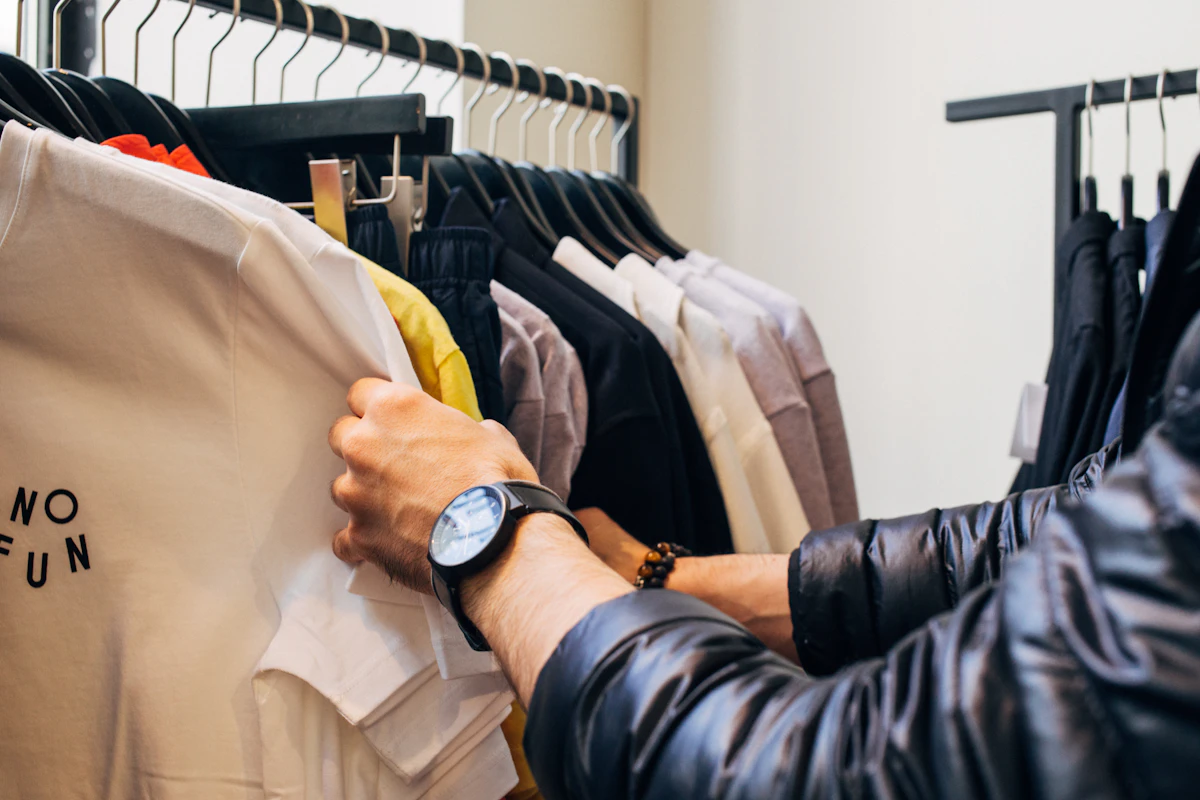
Digital storefronts have given us unprecedented access to global fashion—from small family-owned knitwear workshops in Scotland and heritage denim mills in Okayama to curated archival resale platforms in Paris. Yet shopping for clothes through a glass screen carries an obvious limitation: you cannot feel the weight of the wool between your fingers, test the tension of a buttonhole, or see how a trouser leg falls over your shoe until a cardboard parcel arrives at your door.
As a result, industry return rates for online apparel routinely hover between 25% and 40%, creating frustration for shoppers and a massive carbon footprint from reverse logistics. At The Fashion Edit, our editors source garments online every week with near-zero return rates. The secret is never trusting vanity letter sizing (“Small, Medium, Large”) and instead treating every product page like a technical specification sheet. Here is our step-by-step system for shopping online with total precision.
Step 1: Build Your Personal “Flat Garment Measurement” Card
The single biggest mistake online shoppers make is measuring their own bare body with a tape measure and comparing those numbers to a generic brand size chart. Body measurements do not account for ease—the extra space a patternmaker builds into a garment so you can breathe, sit, and layer. A size Medium shirt cut for a slim Italian fit and a size Medium shirt cut for a boxy Japanese workwear fit may both be recommended for a 38-inch chest, yet the actual garments can differ by four inches across the ribs.
How to Measure Your Best-Fitting Clothes Flat
Grab a soft tailor’s tape measure, pull out the best-fitting shirt, blazer, coat, and pair of trousers you already own, button or zip them closed, and lay them completely flat on a hard dining table. Record these six numbers in a note on your phone:
| Measurement Point | How to Measure Flat on a Table | Why It Matters Online |
|---|---|---|
| 1. Pit-to-Pit (Chest) | Measure straight across the front from 1 cm below one armpit seam to the other (double for full chest) | Reveals the true torso volume and whether a knit or jacket allows room for layering |
| 2. Shoulder-to-Shoulder | Measure straight across the back from the exact point where the left sleeve seam meets the shoulder to the right | The hardest area to alter; ensures blazers and coats sit cleanly on your frame |
| 3. Center Back Length | Measure from the base of the back collar seam straight down to the bottom hem | Tells you immediately where a jacket or shirt will hit relative to your hips (Rule of Thirds) |
| 4. Waist (Aligned Flat) | Pull the front and back trouser waistbands flush together and measure straight across the top edge | Eliminates “vanity sizing” surprises where a labeled 32-inch waist actually measures 34.5 inches |
| 5. Front Rise | Measure from the four-way crotch seam straight up the front zipper to the top of the waistband | Determines whether trousers sit at your natural waist, mid-belly, or low on the hipbone |
| 6. Inseam & Hem Width | Measure from the crotch seam down the inside leg to the hem, plus the flat width of the leg opening | Predicts how the trouser will break over boots, loafers, or sneakers |
Whenever you shop on high-end multi-brand retailers, vintage platforms, or specialist brand sites that provide actual garment measurements, compare their table directly against your phone note. You will know how the piece fits before it ever ships.
Step 2: Decode the Studio Photography Like a Stylist
E-commerce photography is designed to make garments look dynamic under studio strobes, which often hides how the garment hangs in real life. Train your eye to spot these four visual clues on product pages:
1. Look for “Claw Clips” Bias in Back Views
On fast-paced studio shoots, stylists routinely use heavy metal clamp clips behind a model’s back to cinch the waist of a boxy blazer, shirt, or dress so it looks sleek and hourglass-shaped from the front. Always inspect the 360-degree back and side photos. If the back view shows sudden tension lines radiating toward the spine—or if the brand conveniently omits a straight-on back photograph altogether—assume the garment is much boxier than the hero image suggests.
2. Calculate the Model-to-You Height Differential
Product descriptions almost always state: “Model is 6’1” (185 cm) and wears a size Medium” or “Model is 5’10” (178 cm) and wears a size FR 36.” If a midi skirt hits mid-calf on a 5’10” model and you are 5’4”, that exact skirt will hit your ankle bone, altering your vertical proportions—a crucial factor we examined in how to choose clothes that suit your personal style.
3. Zoom In to 200% on Seam Intersections
Use the high-resolution zoom tool to inspect the collar points, buttonholes, and hem stitching. If a brand’s own steamed and pressed studio sample shows puckered seams along the zipper, frayed thread tails inside the buttonholes, or a wavy hem, the production garment that arrives in the mail will look even worse.
Step 3: Read Between the Lines of Fabric Descriptions
Words like “silky,” “wool-touch,” “cashmere-feel,” or “vegan suede” are copywriting euphemisms for 100% polyester or acrylic. Always expand the “Composition & Care” accordion tab before adding anything to your cart:
- Verify Exact Fiber Percentages: A coat marketed as a “Luxury Wool-Cashmere Overcoat” may legally contain 50% polyester, 45% recycled wool, and just 5% cashmere. Demand at least 80% to 100% natural fibers for your core investments, in keeping with our sustainable wardrobe framework.
- Look for Mill Attribution and Fabric Weight: Brands that are proud of their textiles name the mill (e.g., Loro Piana Storm System, Vitale Barberis Canonico, Baird McNutt Irish Linen, Candiani Denim) or state the fabric weight in GSM or ounces. Transparency in sourcing is one of the strongest indicators of overall garment integrity.
Step 4: Audit the Return Policy and Import Duties First
Before ordering from an independent international label, check three logistical details within Shopping & Style Guides:
- DDP vs. DDU Shipping: Check whether international orders ship Delivered Duty Paid (DDP)—meaning all customs duties and taxes are included at checkout—or Delivered Duty Unpaid (DDU), which can trigger surprise brokerage fees upon delivery.
- Return Restocking Fees: Many smaller labels now deduct $15 to $25 for return shipping labels or offer store credit only on archive sale items.
- Final Sale Discipline: Never buy a brand you have never tried on before on “Final Sale” unless you have verified its exact flat garment measurements against your personal measurement card.
Conclusion: Precision Turns Browsing Into Curation
When you combine flat garment measurements, fabric composition literacy, and our 72-hour wishlist cooling rule, online shopping stops feeling like a game of roulette. You can source extraordinary pieces from anywhere in the world—knowing that when you untie the parcel ribbon, the garment inside will fit your body, enrich your 30-piece capsule wardrobe, and serve your personal style for years to come.
Shivam
Shivam is the Menswear, Footwear & Style Contributor at The Fashion Edit. Blending a sharp eye for classic sartorial tailoring with deep roots in global sneaker and streetwear culture, he writes practical, no-nonsense guides on building resilient wardrobes, evaluating garment construction, and navigating online and archival fashion retail without overspending.
Related Fashion Stories
How to Shop Smart Without Overspending
Master the cost-per-wear equation, seam-and-fabric inspection checklists, and wishlist cooling periods to build a luxury-grade wardrobe on a realistic budget.
Budget-Friendly Fashion Finds Worth Considering
Which garment categories deliver exceptional quality at accessible price points—and how small tailoring tweaks make affordable pieces look bespoke.
How to Choose Clothes That Suit Your Personal Style
Using the Rule of Thirds, shoulder-seam alignment, fabric drape, and undertone harmony to select garments that feel natural and flattering from day one.